![]()
![]()
![]()
![]()
![]()
![]()
|
Quakers Yard Station |
|||||||||||||
|
Low Level |
|||||||||||||
|
|
|||||||||||||
|
|
|||||||||||||
|
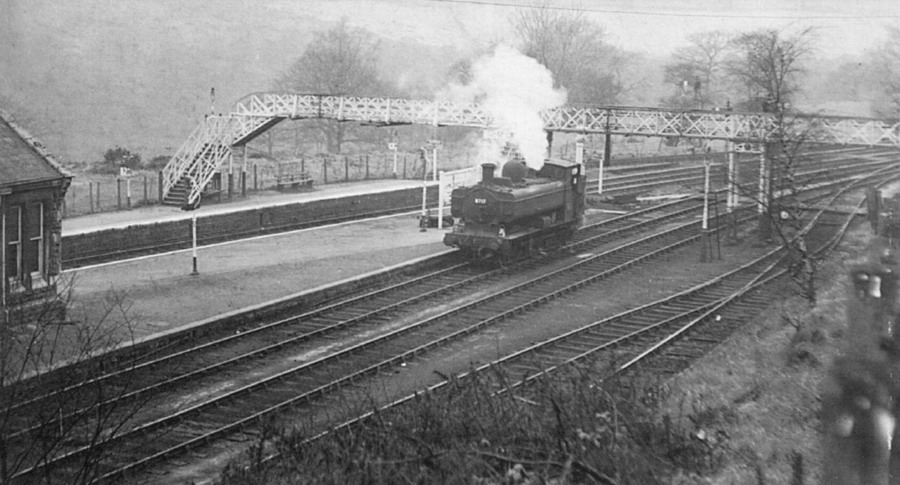
Quakers Yard - Low Level Station. (Photograph Courtesy of Brian Wall) |
|||||||||||||
|
|
|||||||||||||
|
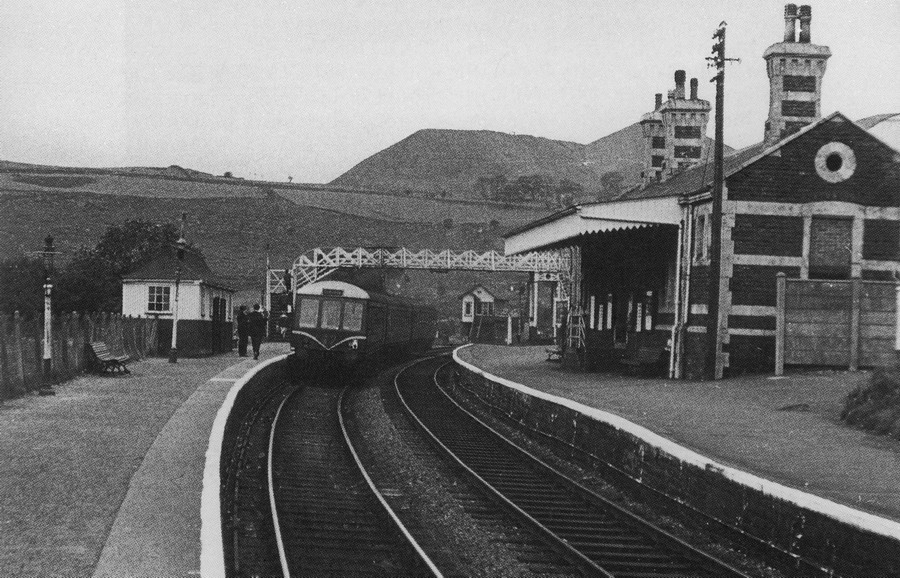
Quaker's Yard - Low Level Station (Photograph Courtesy of Geoff Matsell) |
|||||||||||||
|
|
|||||||||||||
|
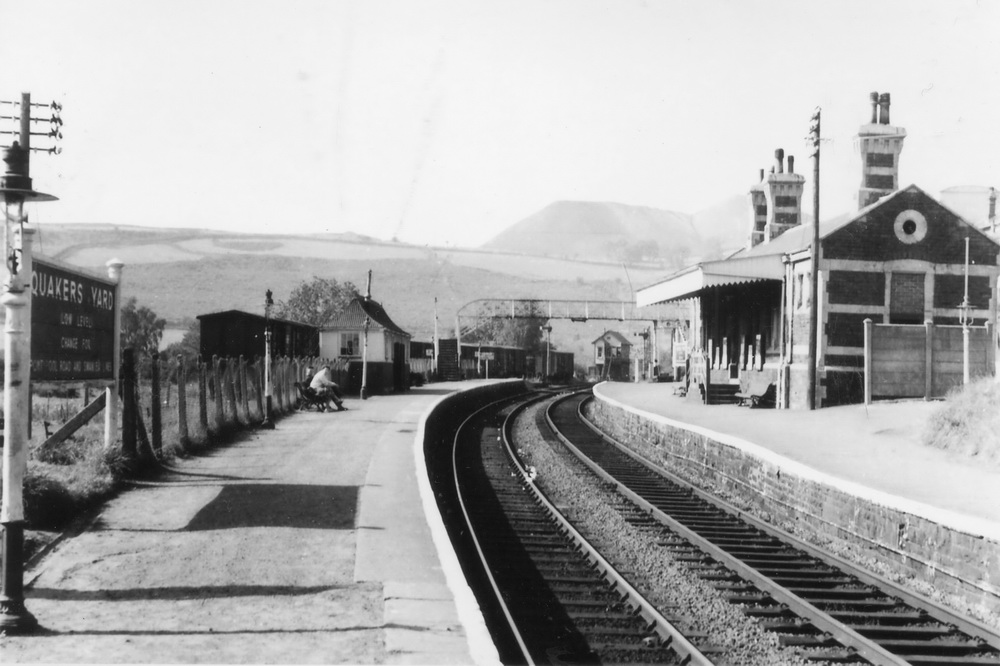
Quaker's Yard - Low Level Station (Photograph Courtesy of Adrian Evans) |
|||||||||||||
|
|
|||||||||||||
|
|
|||||||||||||
|
Quakers Yard - Low Level Station. (Photograph courtesy of Adrian Evans) |
|||||||||||||
|
|
|||||||||||||
|
|
|||||||||||||
|
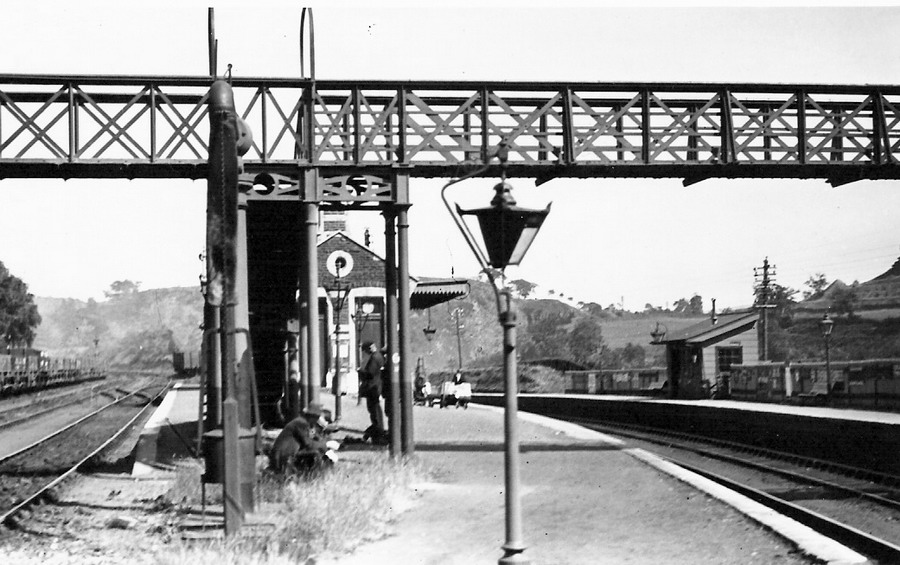
Quakers Yard - Station Foot Bridge. (Photograph Courtesy of Brian Wall) |
|||||||||||||
|
|
|||||||||||||
|
|
|||||||||||||
|
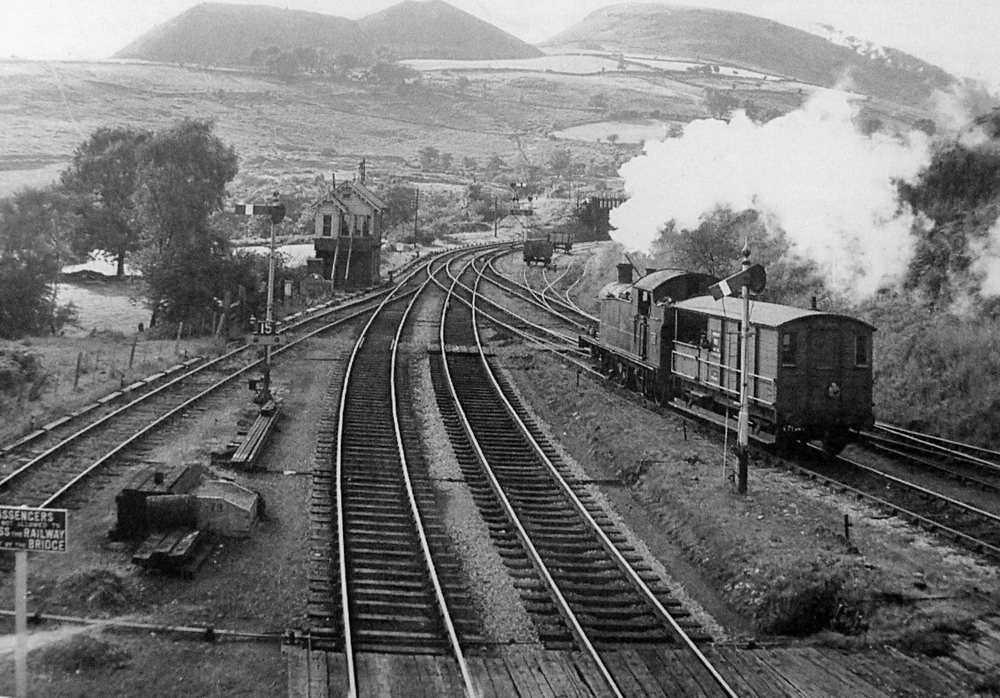
Quakers Yard Low Level - Aberfan tips in the distance (Photograph courtesy of Adrian Evans) |
|||||||||||||
|
|
|||||||||||||
|
|||||||||||||